Signature appearance creation wizard
What you should know
A Signature Appearance is a visual representation of what will appear on your document when you stamp it or sign it with a visual signature. It is usually an image of your written signature or your seal, but it can be any image you want to display when signing a document. The Signature Appearance becomes the visible part of a visible signature.
It is strongly recommended to us a transparent signature appearance; ConsignO includes a signature appearance wizard to facilitate the process. The background, represented by a grey and white checker, will not overwrite what is on the document. It is possible to remove transparency and have a white background that covers what is underneath. See the following examples:


Before you begin
- You need an image (JPEG, GIF, PNG, bmp, scanned pdf of the template model) to use for your Signature Appearance. You can scan your written signature, scan an image of your seal, the company logo, or use any image you want to appear on the documents. You can also download a model from Notarius to help you (see step 2i) below)
- If you are changing computer or want to sign from a new one, you can retrieve your siganture appearances from the older computer: Where to find a copy of my signature appearances on my computer?
To create a Signature Appearance
- Open the Signature Appearance Creation Wizard from the Preferences menu or by using the menu Edit > Signature Appearance Wizard.

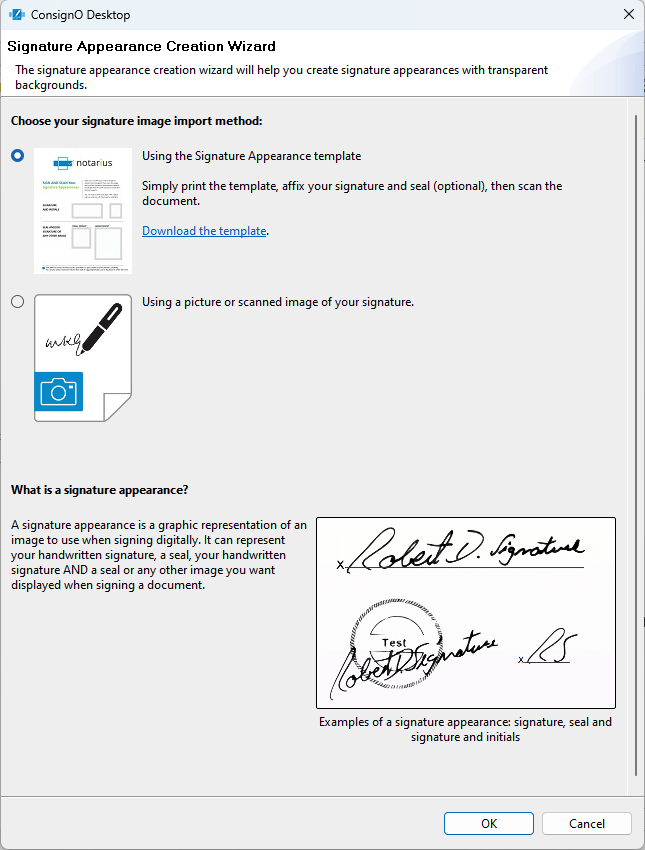
- Select your import method. You can either:
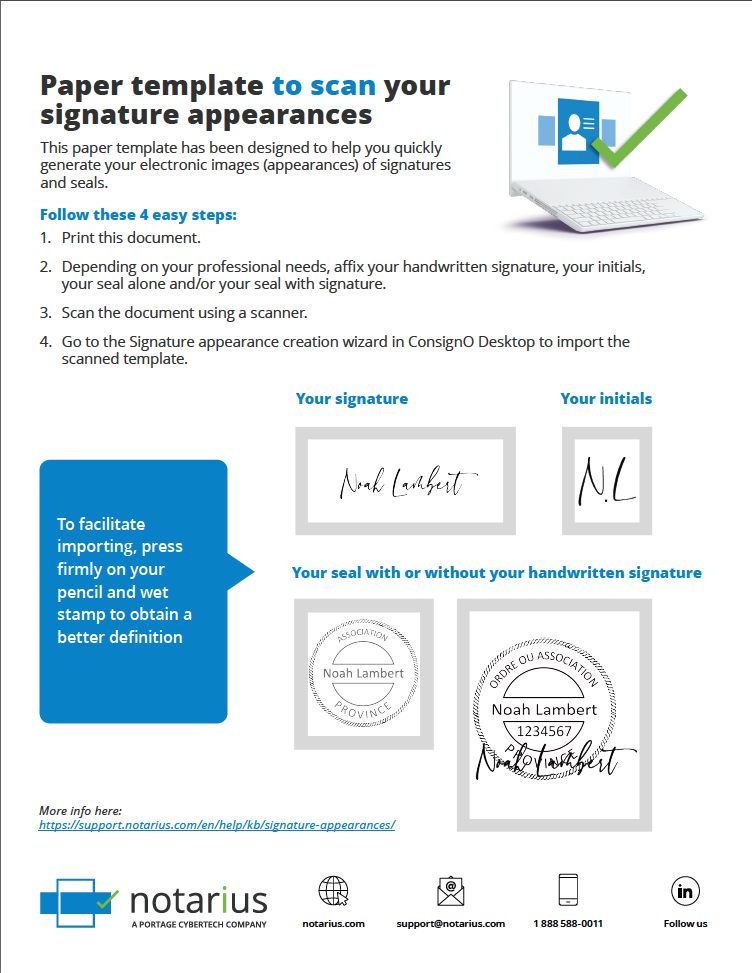
- Use the Signature Appearance template by clicking Download Template.
- Once the template is downloaded, print it
- Modify the printed template with your signature, seal or initials according to your needs
- Scan the modified template to get your image
- Use a picture or scanned image of your signature
- Use the Signature Appearance template by clicking Download Template.

- Click OK.
- Open the image file that you want to use for your signature.
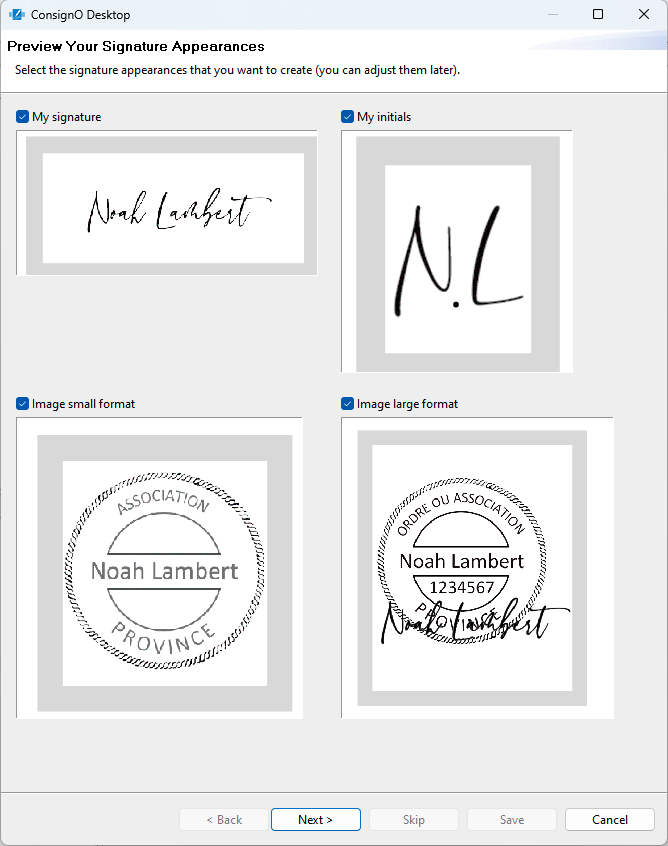
- If you selected to import from the downloaded template, the wizard automatically crops the image to get the different regions that represent the signatures, seal and initials.
- Select the ones you want to use and click Next.
- For each selected image, follow steps 6 c) to 6 h) below.

- If you selected to import from an image without using the template,
- Crop the image according to your need and click OK.
- Click Next to continue or Skip to keep the image as is.
- The wizard proposes four images with different transparency. The transparent parts are shown with a grey and white checker. Select the one that you want to use and click Next.
- Enter a name for the signature.
- Select a rotation for the image if necessary.
- Select Display the signing date on this appearance if you want the date to appear on the signature.
- Click Modify the position and the date format to place the date exactly where you want it to appear on the image, with the font, size and style you want.
- Select Display the signature reason on this appearance if you want a reason to appear on the signature.
- Click Modify the position and format of the reason to place the reason exactly where you want it to appear on the image, with the font, size and style you want.
- Click Save to complete the Signature Appearance creation.
- On the status window, select Set as default if you want that Signature Appearance to become the default one.
- Click OK to close the window.
You can now use the new Signature Appearance to visibly sign your documents.
